
What you need
This guide starts from a machine with a fresh Linux install and ends with an app running on it. I ran every step on a clean Debian 12 virtual machine while writing it, so the output and timings below are the real ones.
- A machine to be the server. A mini PC, an old laptop or desktop, or a Raspberry Pi 4 or 5. 4 GB of RAM leaves room for Homeio and a few apps.
- A fresh Debian, Ubuntu or Raspberry Pi OS (64-bit). Anything with
apt-geton x86_64 or 64-bit ARM works. A server install without a desktop is enough. - Another computer on the same network with a browser, to use Homeio once it is installed.
- About ten minutes. The install itself took two minutes on the test machine. A Raspberry Pi takes longer.
If you have not picked hardware or an operating system yet, the beginner home server guide covers those choices. This page is the hands-on part.
Step 1: Get a shell on the machine
Log in on the machine itself, or over SSH from another computer, with a user that can run sudo. On a Raspberry Pi, enable SSH in Raspberry Pi Imager before you flash the card.
Give the machine a fixed address while you are at it. The simplest way is a DHCP reservation in your router: it keeps handing the server the same IP, so bookmarks and app links keep working after a reboot.
The installer needs nothing else up front. Docker, PostgreSQL, Node.js and Nginx are installed for you, so there is no need to install Docker first.
Step 2: Run the install command
Run this one line:
curl -fsSL https://get.homeio.app | sudo bashget.homeio.app serves the same file as scripts/install.sh on GitHub. If you would rather see every step before anything changes, do a dry run first:
curl -fsSL https://get.homeio.app | sudo HOMEIO_DRY_RUN=true bashThe script prints each step as it goes. Here is what it did on the test machine, in order:
| Step | What happens |
|---|---|
| Checks | Root access, apt-get, and the options you passed. |
| Hostname | Names the machine homeio and announces it on the network, so it answers at homeio.local. |
| Packages | Base packages, ufw and fail2ban, Docker, Node.js 22 and Go. |
| Homeio | Clones the latest release (v1.10.3 when I ran it) into /opt/home-server and creates the /DATA folders. |
| Settings | Writes /opt/home-server/.env with a freshly generated session secret. |
| Database | Sets up a local PostgreSQL database for Homeio. |
| Build | Installs dependencies and builds the app. This is the longest step. |
| Services | Starts Homeio, its upload server and its system helper as systemd services. |
| Web access | Puts Nginx in front on port 80. |
It ends with a box like this one. On the test machine the whole run took 2 minutes 1 second:
╭────────────────────────────────────────────────────╮
│         Installation Complete!                     │
├────────────────────────────────────────────────────┤
│  * Local:      http://homeio.local                 │
│  * Network:    http://192.168.1.50                 │
╰────────────────────────────────────────────────────╯

Manage service:
  sudo systemctl [start|stop|restart|status] home-server.service

View logs:
  sudo journalctl -u home-server.service -f
Two options are worth knowing before you run it. HOMEIO_PUBLIC_PORT moves the web interface off port 80, if something already uses it, and HOMEIO_HOSTNAME changes the homeio.local name:
curl -fsSL https://get.homeio.app | sudo HOMEIO_PUBLIC_PORT=8080 HOMEIO_HOSTNAME=nas bashThe install page lists every option.
Step 3: Open Homeio and create your account
On another computer, open one of the two addresses the installer printed. http://homeio.local works on most home networks. If it does not, use the IP address. Homeio greets you with a welcome screen:
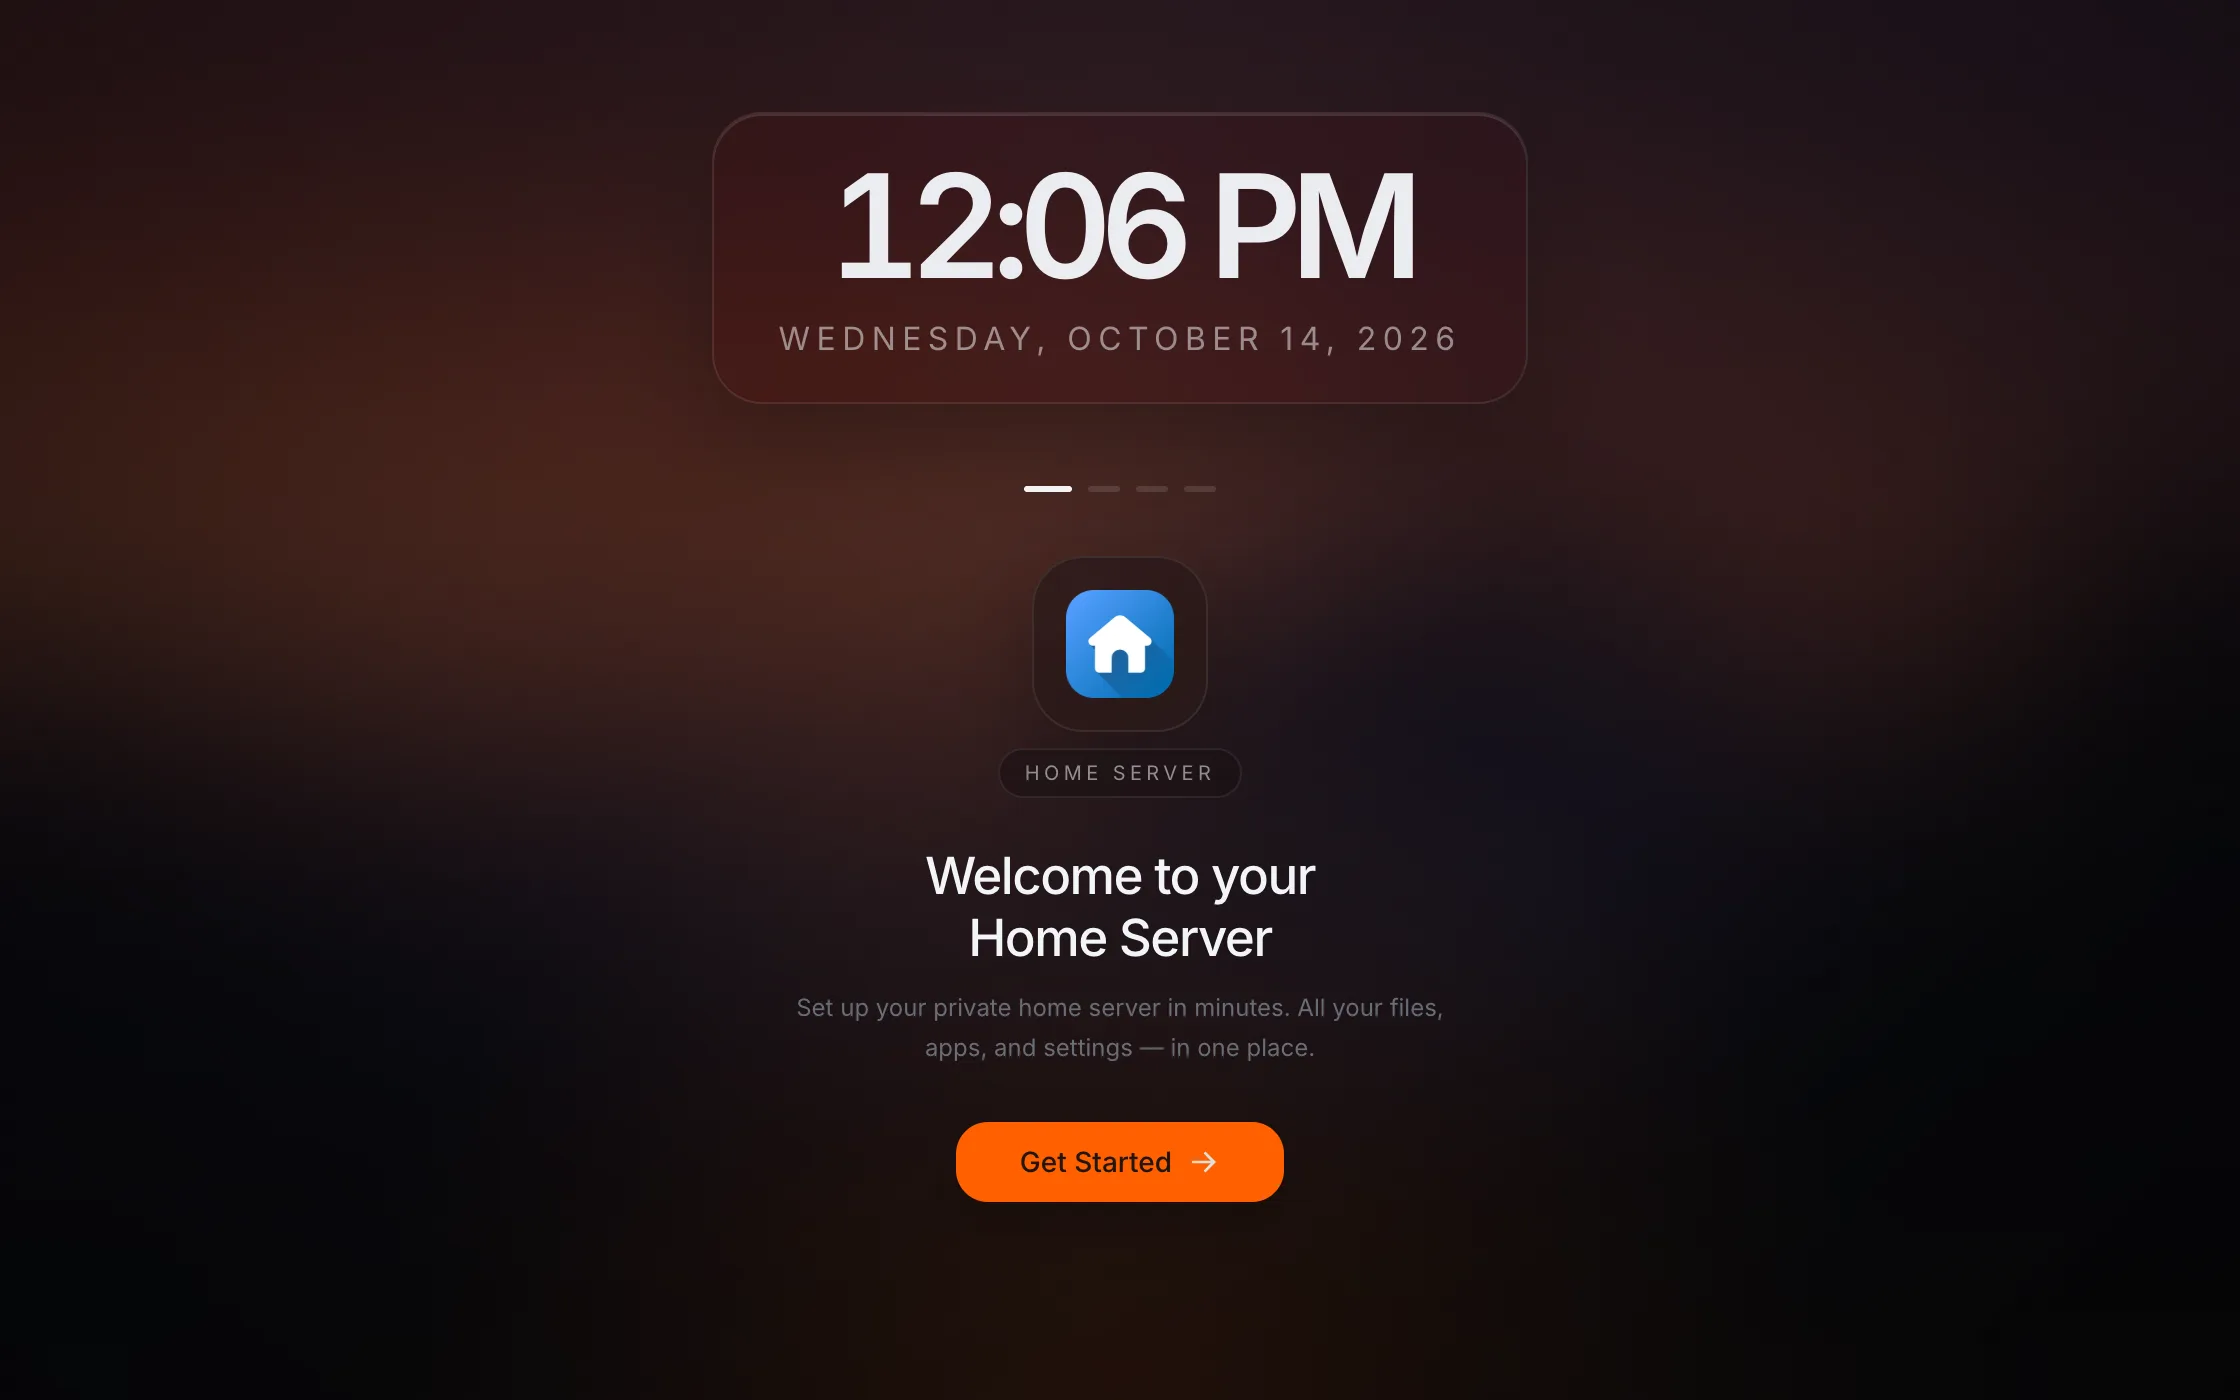
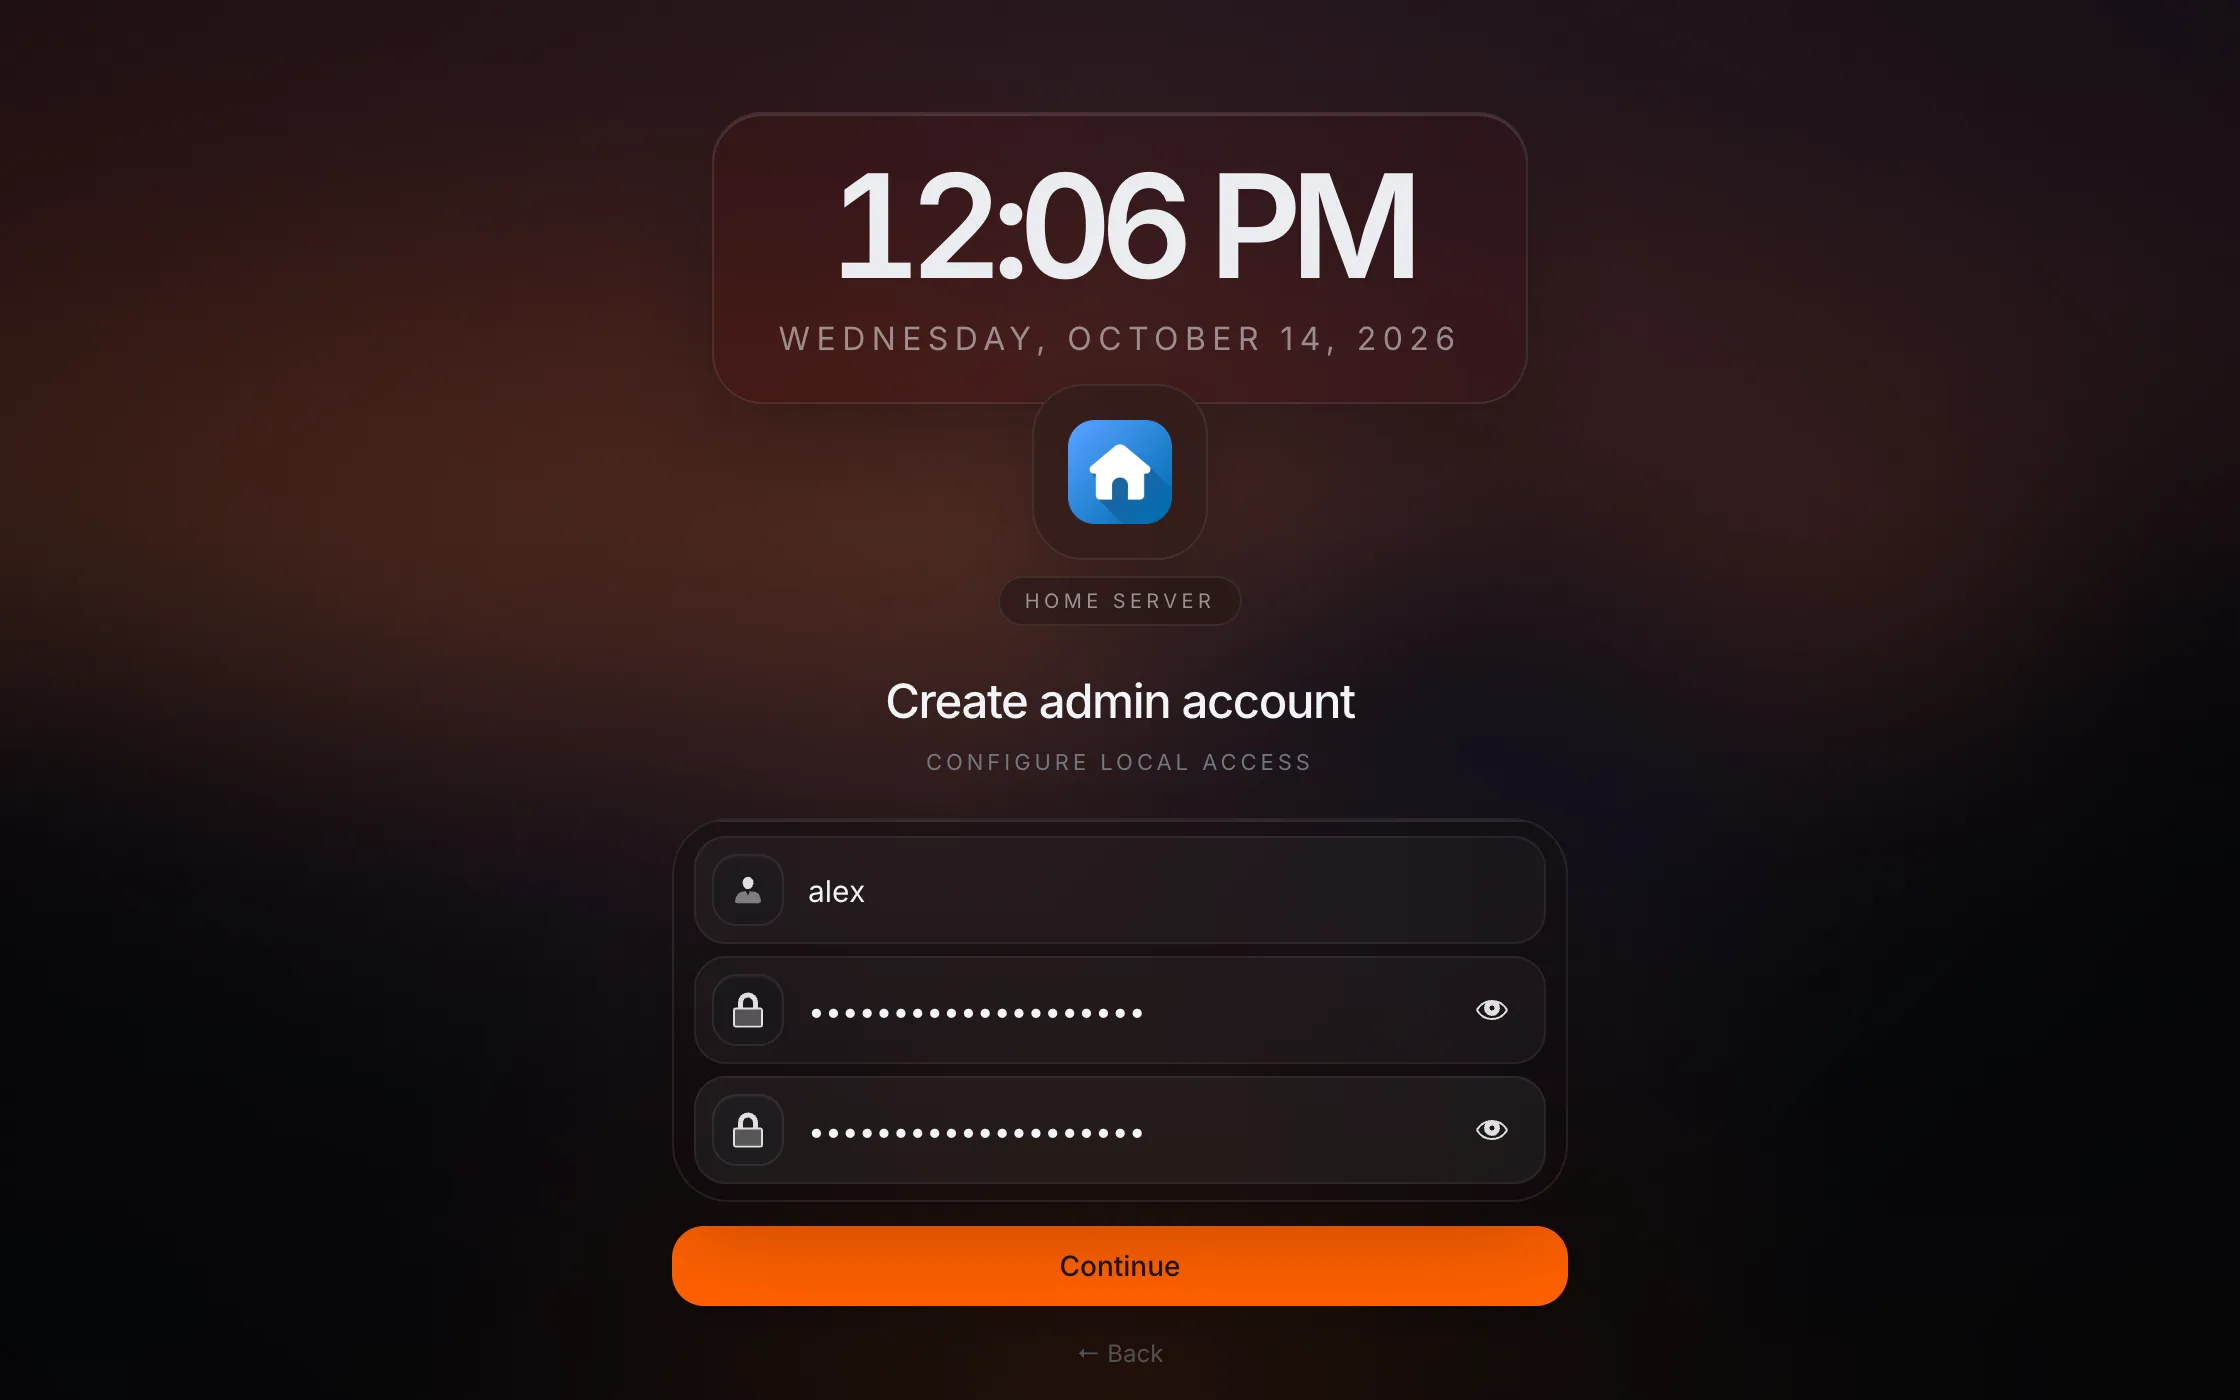
Click Get Started and pick a username and a password. This is the administrator account, and the only one: Homeio has one account per installation, and registration closes as soon as it exists.
Homeio then prepares its storage folders and opens the desktop: a dock at the bottom with the Terminal, Files, Monitor, App Store and Settings, and an empty space where your apps will go.
Step 4: Install your first app
Open the App Store from the dock. It held 179 apps when I wrote this, sorted into Media, Productivity, Home, Networking, AI, Finance, Social and Developer. Each card shows the port the app will use.
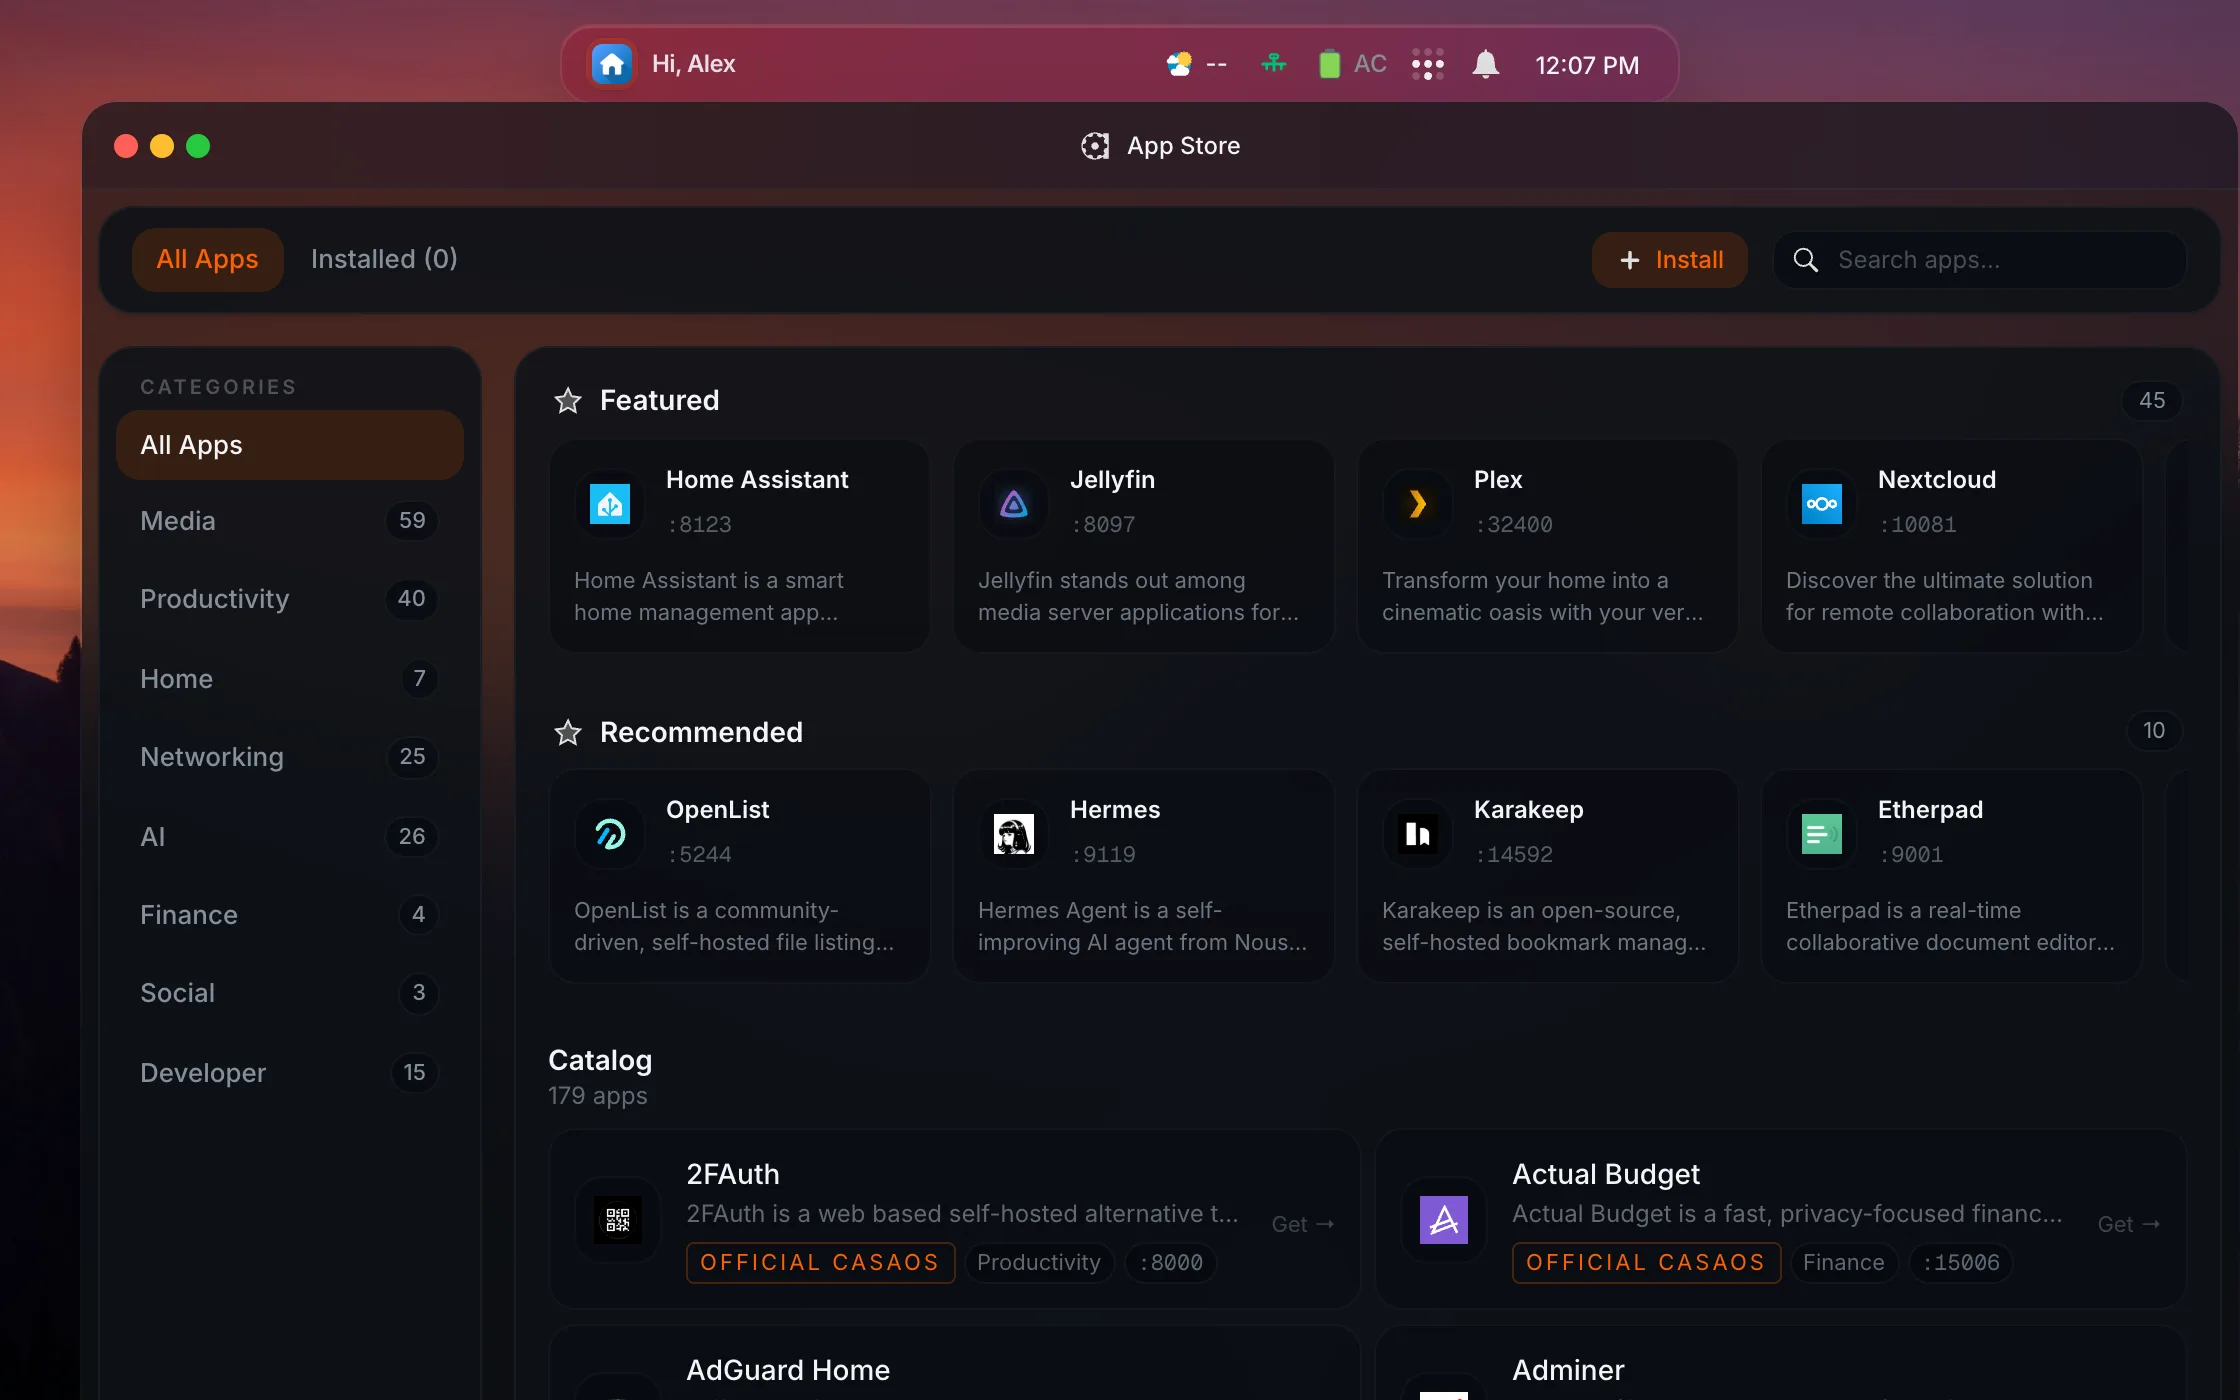
Pick an app and click Install. I used Uptime Kuma, a small monitoring app: Homeio pulled the image, started the container and put the icon on the desktop in about 15 seconds.
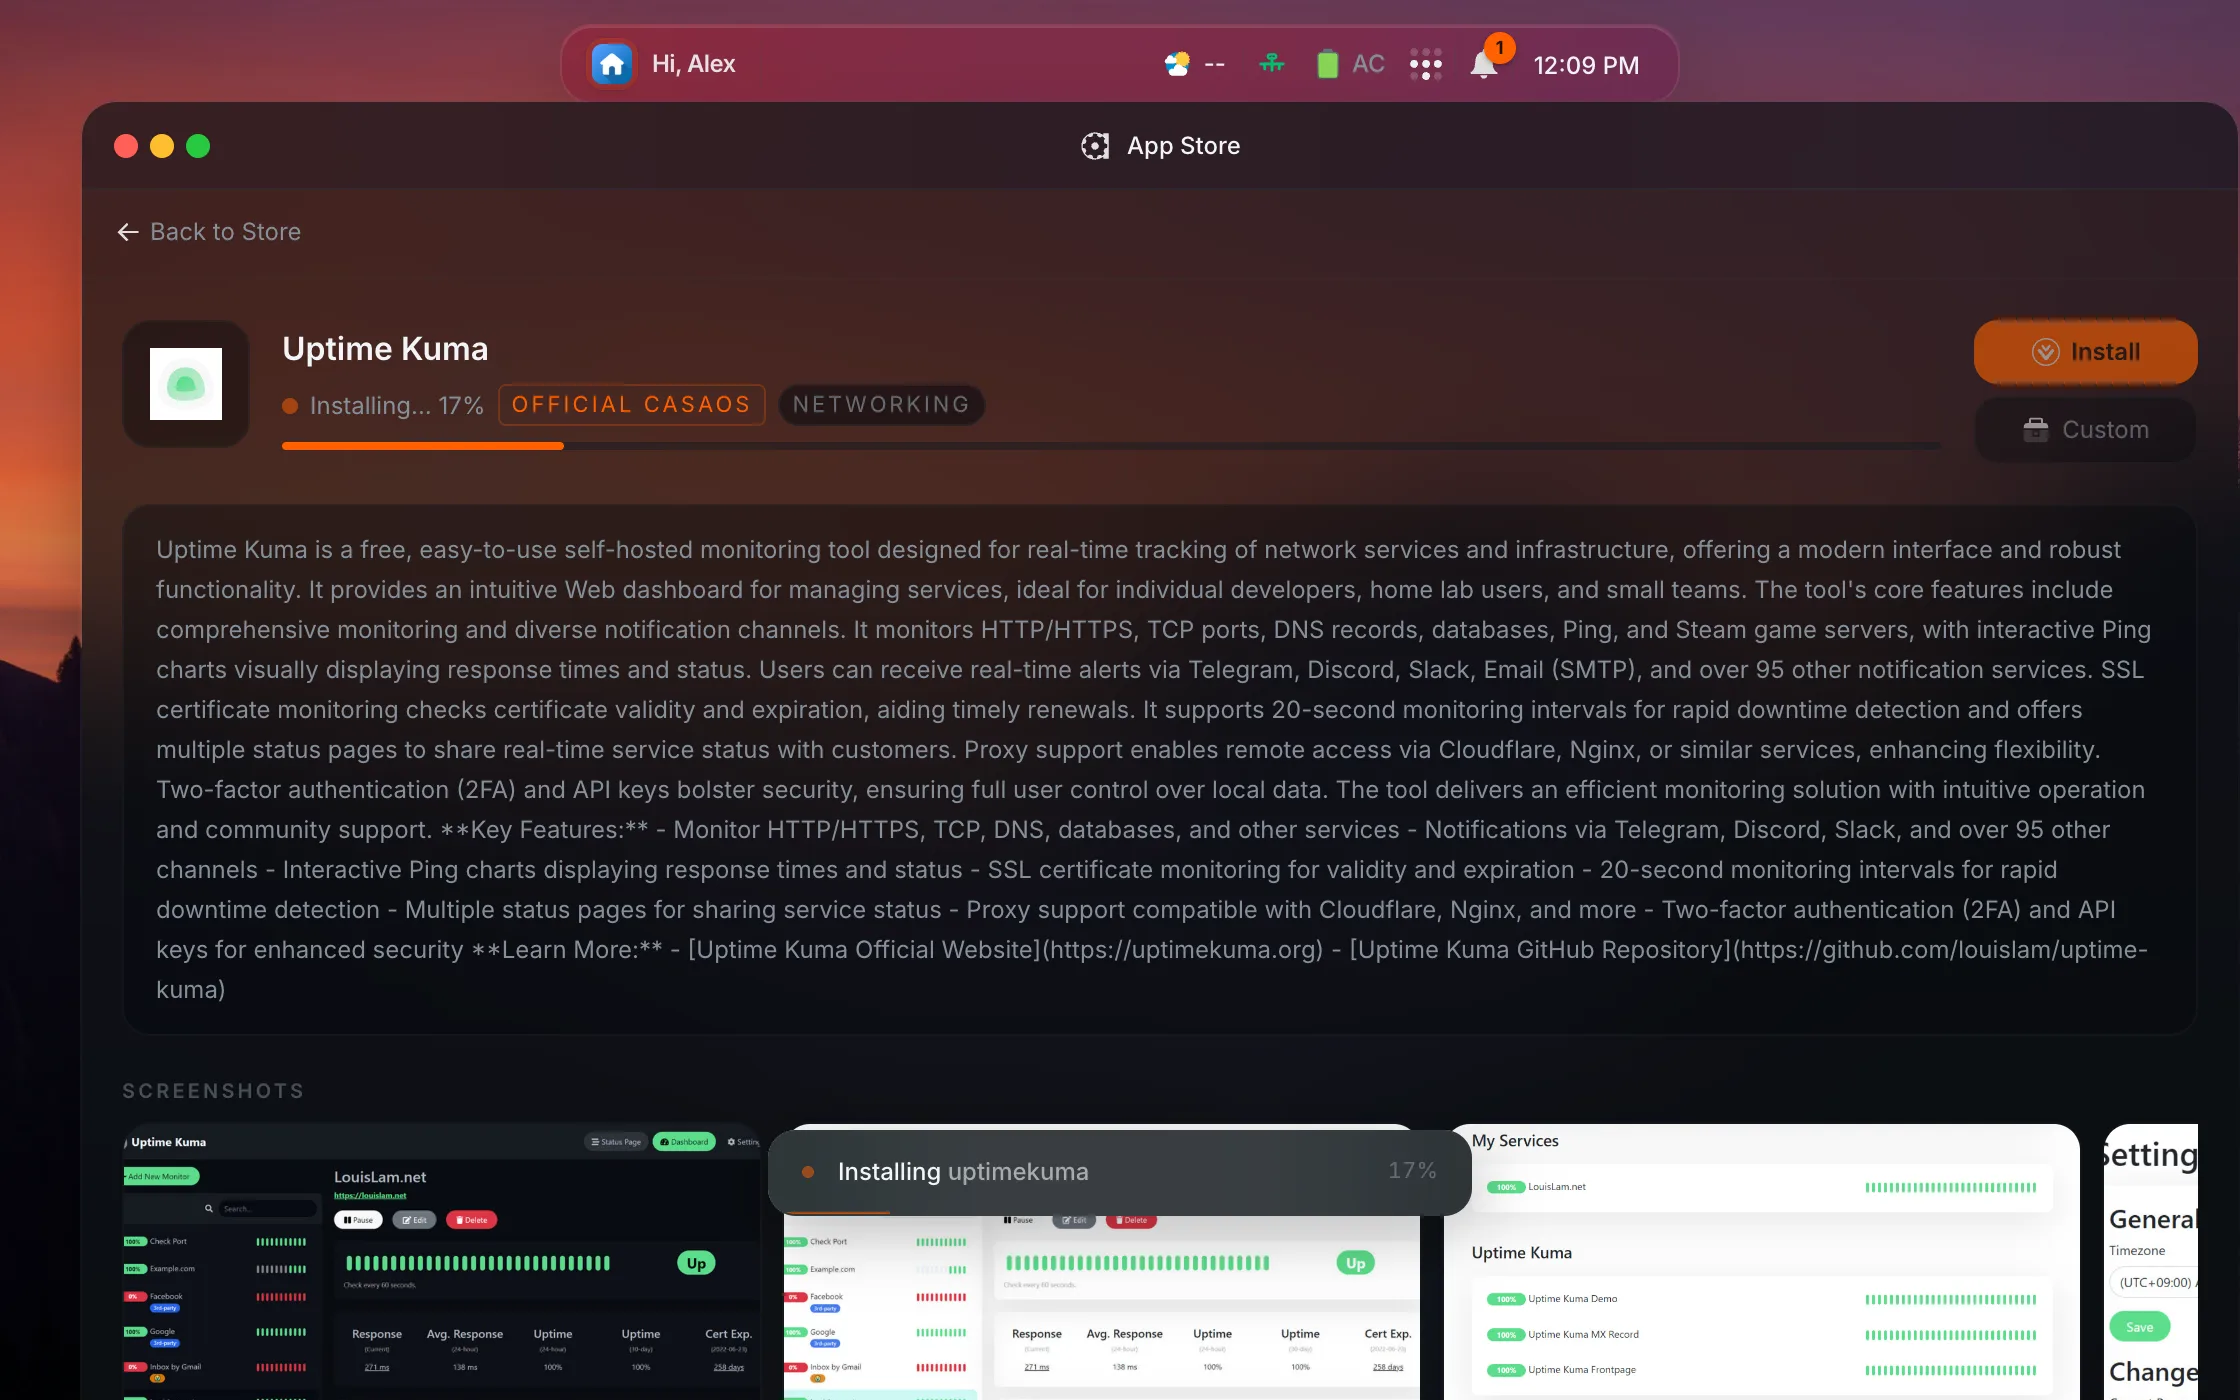
Custom, under the Install button, opens the app's settings before it is installed: a form for ports, folders and environment variables, and the Docker Compose file itself if you prefer to edit that.
Once it is installed, click the icon to open the app, or right-click it for everything else: stop and restart, logs, a shell inside the container, updates and removal.
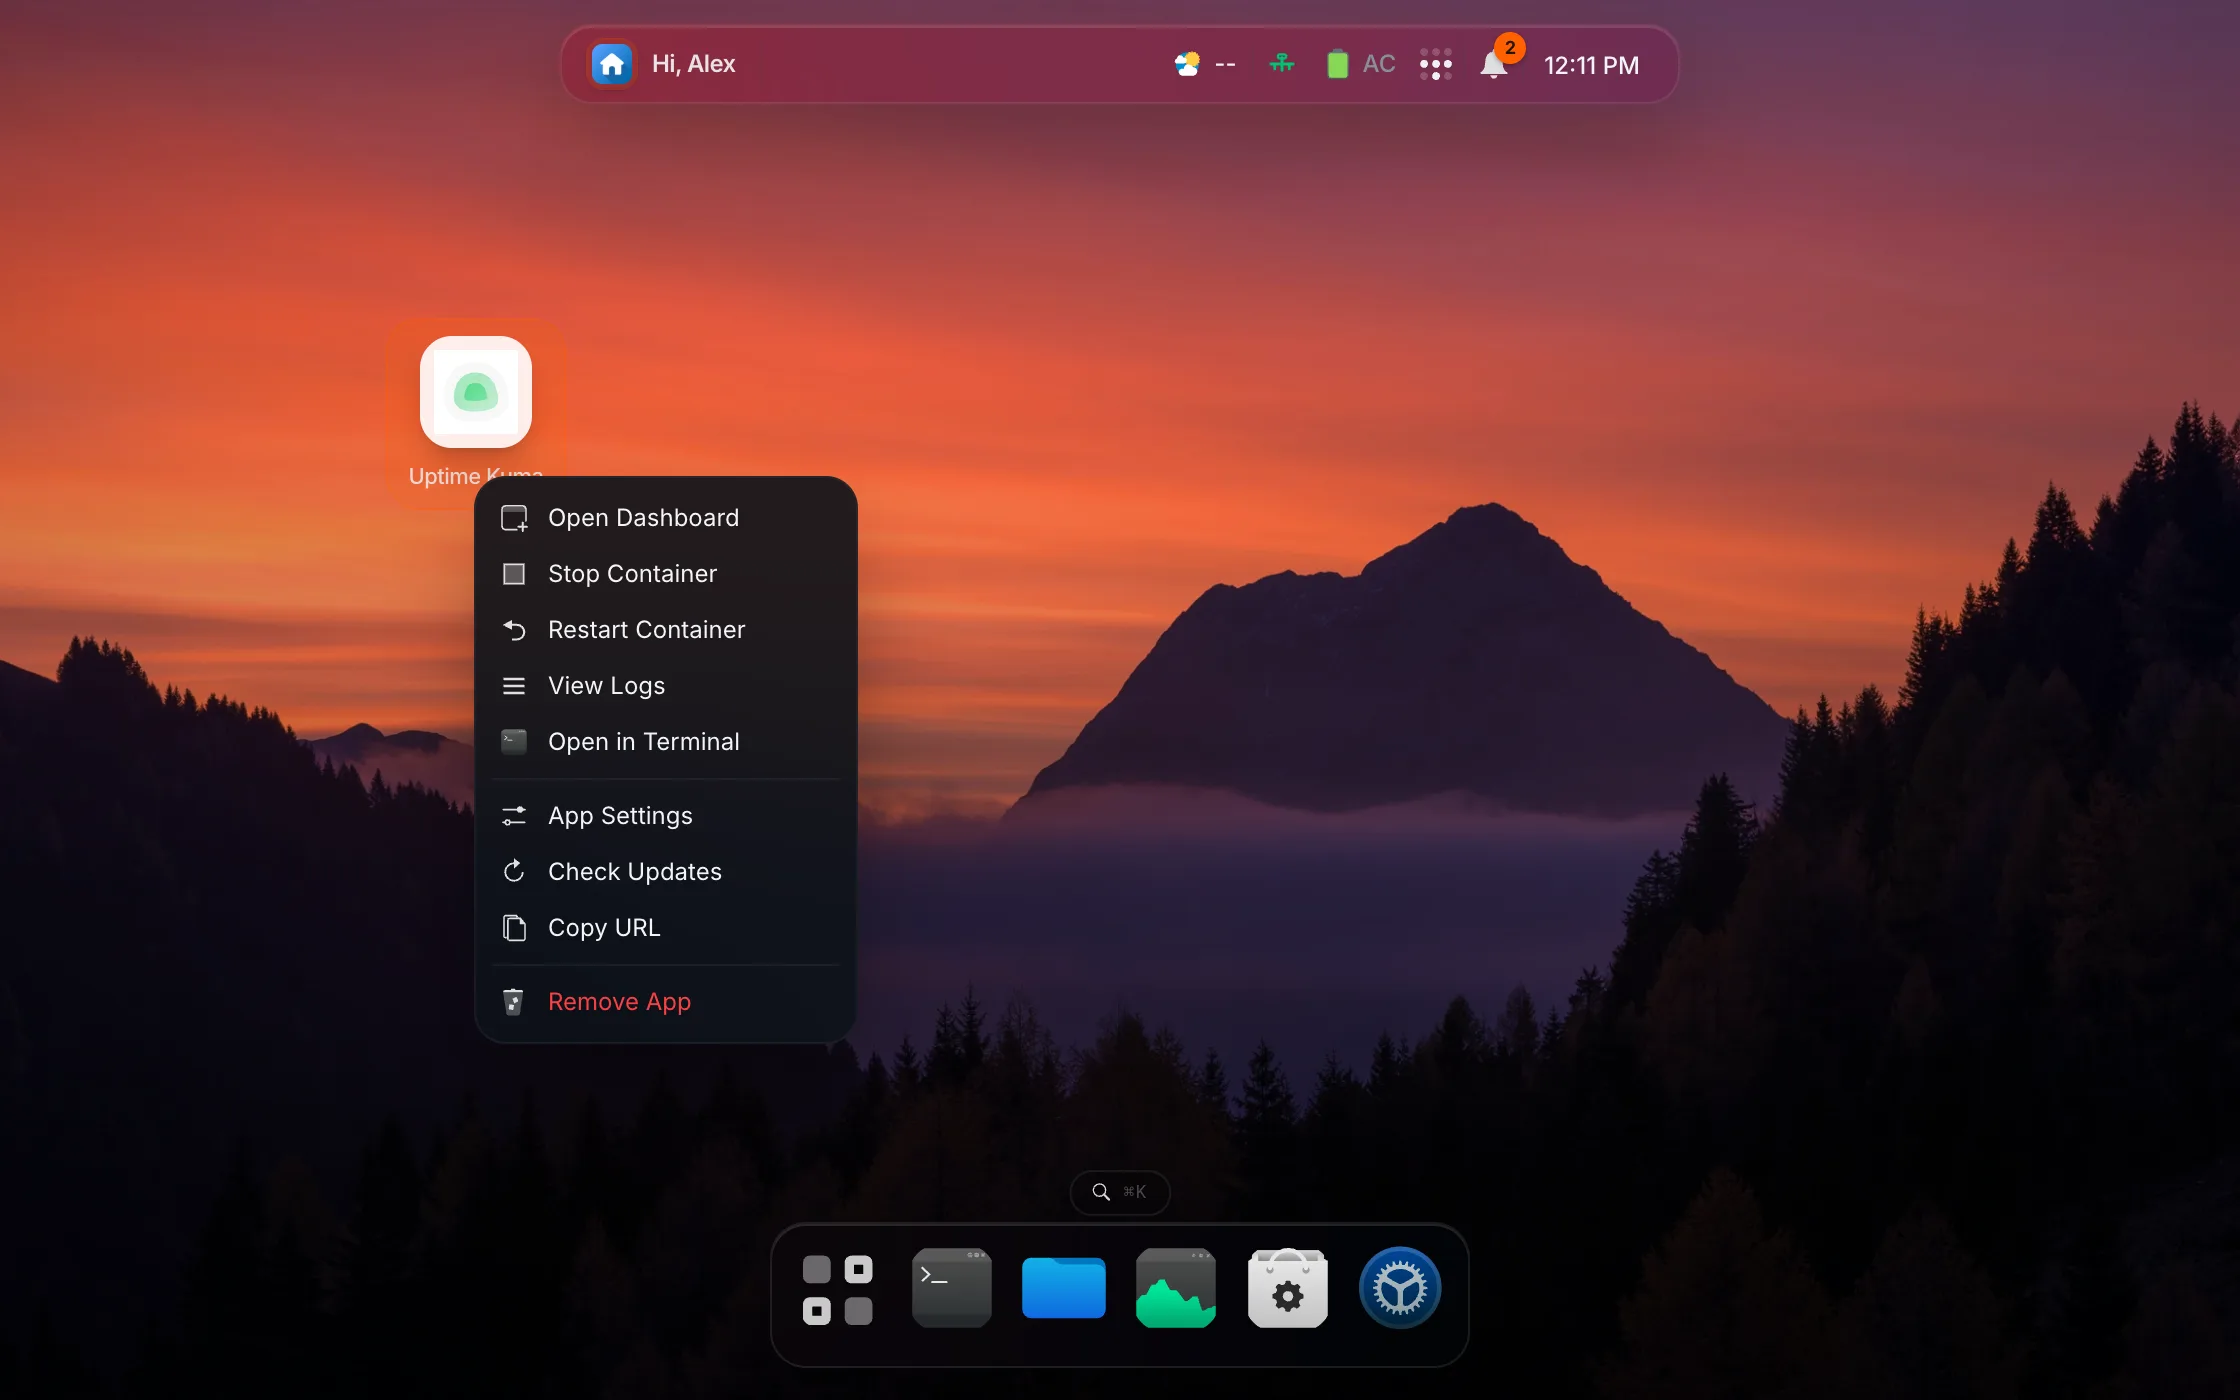
Every app is a plain Docker Compose stack in /var/lib/home-server/stacks/<app>/docker-compose.yml, so docker compose and docker ps still work if you prefer the command line.
If something goes wrong
| What you see | What to do |
|---|---|
homeio.local does not open | Some routers and guest networks block the local name lookup it relies on. Use the IP address the installer printed instead. |
| The page does not load at all | Check the service with sudo systemctl status home-server, and read its log with sudo journalctl -u home-server -f. |
| Port 80 is already used | Run the installer again with HOMEIO_PUBLIC_PORT=8080 and open http://homeio.local:8080. |
An app fails with a message about /dev/dri | Its template asks for a graphics device, for hardware video transcoding. A virtual machine usually has none. Use Custom and remove the devices lines from the compose file; the app then runs without hardware transcoding. |
| An app installs but does not open | Right-click it and open View Logs. Most first-start problems, like a missing setting or a port already in use, show up there. |
I hit the /dev/dri case myself while writing this guide: Jellyfin's template expects a GPU for transcoding, and the test virtual machine had none. On a mini PC with an Intel or AMD graphics chip it installs as is.
What the install left on your machine
Nothing is hidden. This is what was on the test machine after the install:
| What | Where |
|---|---|
| Homeio itself | /opt/home-server, about 1.2 GB with its dependencies |
| Settings | /opt/home-server/.env |
| Your files | /DATA/Documents, /DATA/Download and /DATA/Media |
| App data | /DATA/AppData/<app> |
| App stacks | /var/lib/home-server/stacks/<app>/docker-compose.yml |
| Services | home-server, home-server-upload and home-server-dbus, plus nginx, postgresql and docker |
Homeio's own processes used about 290 MB of memory with one app running. The ufw firewall is installed but not switched on, so the installer does not lock you out of SSH; turn it on yourself if you want it.
Homeio sends an anonymous ping every 12 hours with a random install ID, its version, the CPU architecture, the install method and the Linux distribution. It feeds the public usage stats. Switch it off under Settings → Advanced → Anonymous usage stats, or with HOMEIO_TELEMETRY=false in the .env file.
To remove Homeio later, the uninstall script keeps your data unless you ask it not to. Both commands are on the install page.
Prefer Docker Compose?
If the machine already runs other things, or is not Debian-based, Homeio also runs as a Docker Compose stack, with its database in the same file:
git clone https://github.com/doctor-io/homeio.git
cd homeio
docker compose up -d
Then open http://your-server-ip:12026 and continue at Step 3. The differences: updates come from docker compose pull rather than the Settings window, and the Terminal is a command terminal rather than a full shell on the host.
Next steps
- Reach it from outside your home. Tailscale gives you private access from your phone and laptop; Cloudflare Tunnel publishes an app on your own domain without opening a port. The Homeio 1.9 release notes compare the two.
- Add more apps. The best self-hosted apps list is a good place to start.
- Keep it updated. Settings → Updates installs new versions of Homeio, and Check Updates in an app's right-click menu does the same for that app.
- Read the docs. The documentation covers files, sharing, backups and scheduled tasks.